Email Templates
To open the tool, click Templates in the Email Templates pane in the Settings page.
A table listing all existing email templates in the database will open:
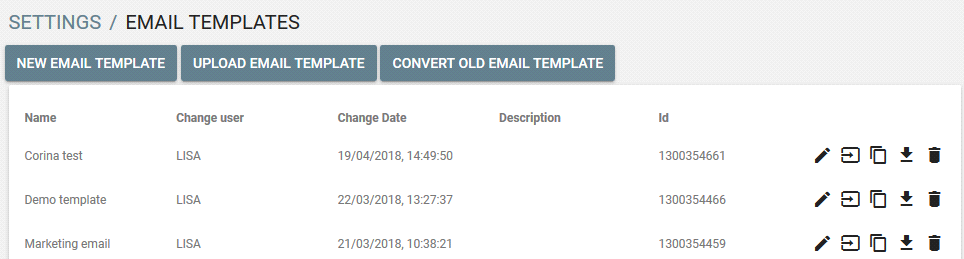
- To create a new template, click New Email Template.
- To upload a template, click Upload Email Template.
- To convert an old template, click Convert Old Email Template.
- To edit a template, click
 next to it.
 - To rename a template, click

- To create a copy of a template, click

- To download a template, click

- To delete a template, click

Converting Old Templates
If your database includes old templates then to convert those click Convert Old Email Template. And then click the template you want to convert:
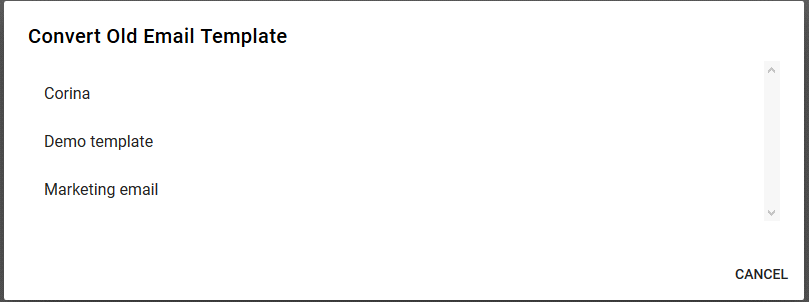
The template will be converted and will appear in the list of templates.
Please note that this command is not available if there is no old templates for you to convert in the Vine database.
Creating new templates
Creating Templates
To create a new template:
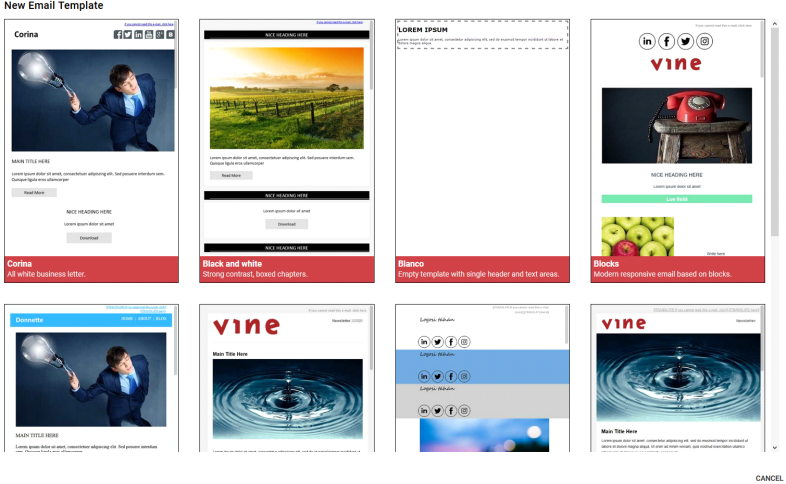
- Click New Email Template. You will see a list of predefined templates. The available predefined templates have all Vine standard elements included.
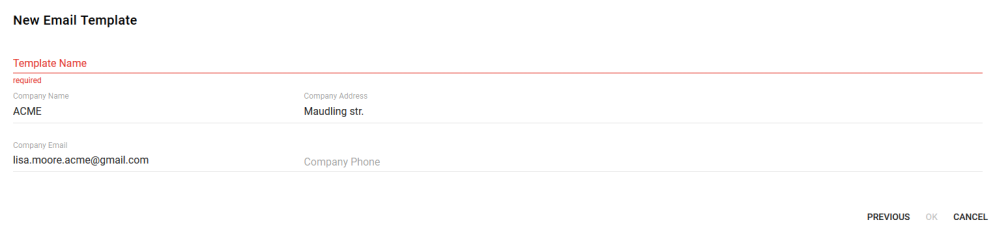
- Click a template you want and click Next. A New Email Template dialog will appear where your company data will be taken from the Company Information in Settings. This data will be used in the template where it includes your company data.
- In the New Email Template dialog enter a template name and other missing data name and click OK. The template will be created and opened for editing.
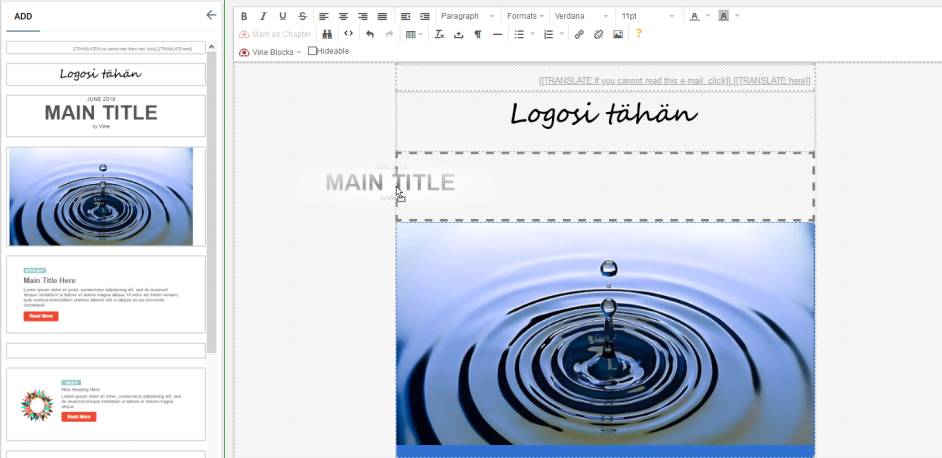
Editing Templates
The template editor is based on a standard popular html editor (TinyMCE) with Vine elements integrated into it. Templates can be created and edited as plain HTML pages with the possibility to insert Vine blocks where needed.
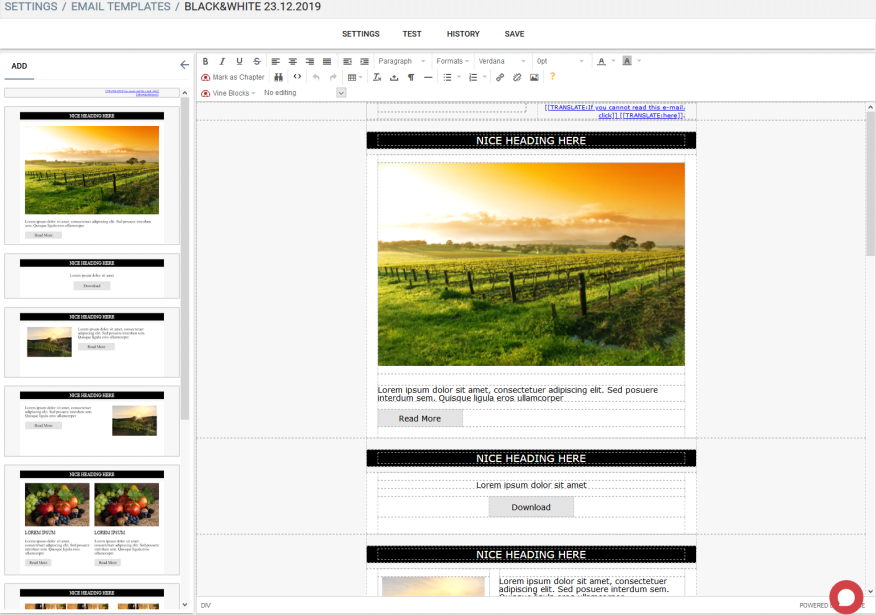
Note: When editing a specific element it is first necessary to select it. The easiest way to do this is to click the correct element in the path of HTML elements at the bottom of the editor:

For example, please note that each chapter is contained within a separate DIV element. So to select a whole chapter you need to click inside it and then click the leftmost div element.
Toolbar Commands
|
Button |
Name/Info |
Description |
|
Top Toolbar row |
||
|
|
Bold |
Select text and click this to make it bold |
|
|
Italic |
Select text and click this to italicize it |
|
|
Underline |
Select text and click this to underline it |
|
|
Strikethrough |
Select text and click this to |
|
|
Align Left Align Center Align Right Justify |
Select text and click this to align text to the left, center it, align to the right, or justify text ( text spaces adjusted so that the text gets aligned with both the left and right margins) |
|
|
Decrease Indent |
Click this to indent less |
|
|
Increase Indent |
Click this to indent more to the right |
|
|
|
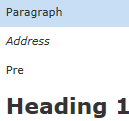
Select text and apply predefined formats, such as paragraph, address, heading levels, etc. |
|
|
|
Select text and select styles from this list to apply to the selected text. Several styles can be applied at the same time. (Applied styles gave a grey bar to the left.) |
|
|
|
Select a font for the selected text |
|
|
|
Select a size for the selected text. |
|
|
|
Select a color for the selected text from the Text Color dialog. Select a background color for the selected text from the Background Color dialog. |
|
Second Toolbar Row |
||
|
|
Select your own HTML code and click this to create a new chapter out of it. |
|
|
|
Find and Replace |
To search for text ( and replace some text with other text if needed) |
|
|
Source Code |
Edit HTML source code |
|
|
Undo/Redo |
|
|
|
Table |
Click here to insert and configure tables |
|
|
Clear Formatting |
Removes the formatting of the selected text |
|
|
Non Breaking Space |
Inserts a non-breaking space |
|
|
Show Blocks |
Displays dotted frames around block-level elements with labels. |
|
|
Horizontal Line |
Inserts a horizontal line at the cursor position. |
|
|
Bulleted List Numbered List |
Click here to insert bulleted and numbered lists. |
|
|
Insert Link |
Click here to insert link. |
|
|
Remove Link |
Click this to remove link. |
|
|
Insert/Edit Image |
Click this to insert/edit image, for example a logo image. |
|
|
Help |
Opens Help |
|
Third Toolbar Row |
||
|
|
Click here to insert Vine standard elements. |
|
|
No Editing |
Defines how an element can be edited in Email Editor. |
|
|
Hideable |
Select this if you want the user to be able to hide the selected element in email. |
|


 Mark as Chapter
Template settings
Click the Template tab to configure the general settings for the whole template.
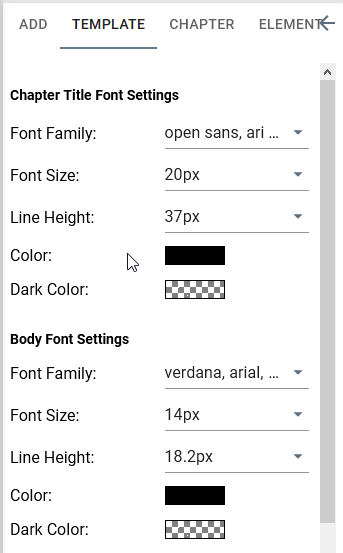
Use the following settings to set default styles for the whole template:
Note: You can override these settings with styles explicitly set for individual tags.
- Body font settings to change the base used font.
- Link settingsto configure inserted links.
- Link button settings to set text, border and background colors for buttons.
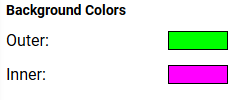
- Background colors to set the inner and outer background colors of the template.
- Configure the Dark Color settings to be used when a ‘dark theme’ is selected on the device of an email recipient.
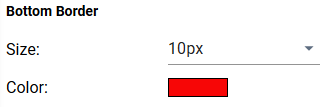
- Use the Chapter Title Font and Chapter Bottom Border groups to configure these settings for all chapters in the template.
- Select Allow to change email colorsif you want to be able to change button colors and chapter background colors in emails based on this template.
Testing Templates
Click Test to send the current template as an email to see how it looks.
Reverting to Previous Versions
You can revert to any previous version of an email template. Click History and then click any previously saved version to revert to it.
The clicked version will be loaded to the editor and you can save it, if it is the one you need.
Saving Templates
Click Save to save the current state of template.
Useful Keyboard Shortcuts
Ctrl + z - Undo
Ctrl + y - Redo
Ctrl + b - Bold
Ctrl + i - Italic
Ctrl + u - Underline
Ctrl + 1 (2… 6) - h1 – h6
Ctrl + 7 - p
Ctrl + 8 - div
Ctrl + 9 - address
Return - New Paragraph
Shift + Return - line break
Adding & Editing Chapters
Adding a chapter
To add a chapter, simply drag it from a list of chapters on the Add tab to the desired place in your template.
Moving a Chapter
Hover over the chapter you want to move, click ![]() and hold, and then drag the chapter to any other location in the template.
and hold, and then drag the chapter to any other location in the template.
Alternatively, hover over the chapter you want to move and click the Up arrow  to move it up or the Down arrow
  to move it down.
Creating a Copy
Select the chapter you want to copy and click the Copy icon ![]() . A copy of the chapter will be inserted in the template.
. A copy of the chapter will be inserted in the template.
Removing a Chapter
Select the chapter you want to remove and click the cross sign.
Editing Source Code
Сlick ![]() to edit chapter HTML source code directly.
to edit chapter HTML source code directly.
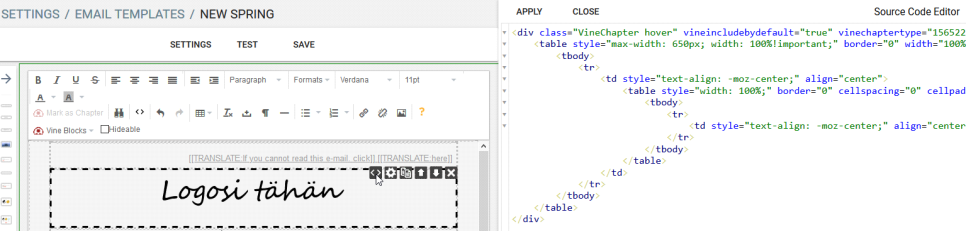
After adding your own HTML code, you can select it and click Mark as Chapter to create a new chapter from it.
Configuring Chapter Settings
Select the chapter you want to configure and click the Chapter tab where you can configure many chapter settings.
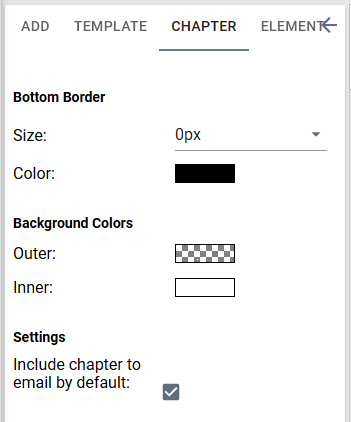
- Set the chapter bottom border:
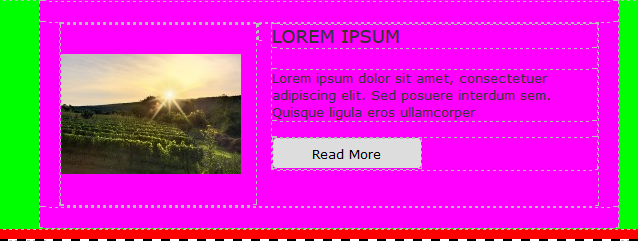
- Set the outer and inner background colors
- Select Include chapter to email by default if you want this chapter to be automatically added to an email in Email Editor. If you clear this check box then the user will need to add this chapter manually from a list of chapters available in the template.
- Select Shrink chapter inner-width if you want to remove colored left and right margins.

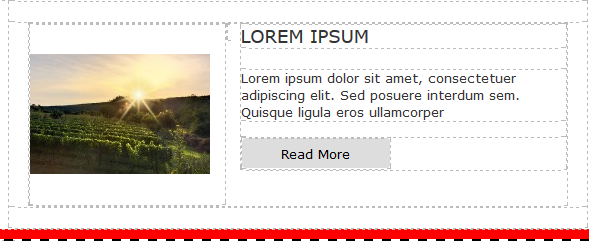
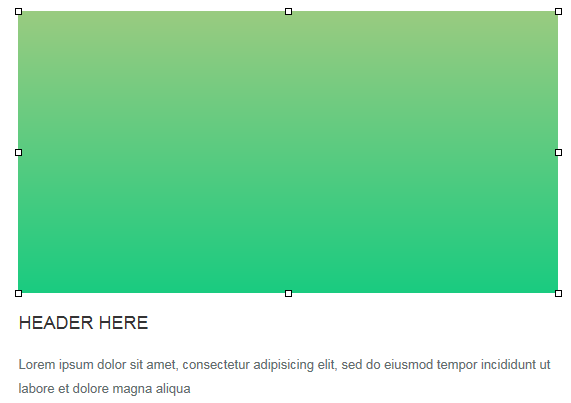
Setting Chapter Images
Image placeholders must be replaced with your images:
-
Select the placeholder (or the image) you want to replace:
-
Click the Insert Image button on the toolbar and locate your image file:

-
Click OK:

Adjusting Physical Image Size in Emails
To make images in emails appear better and more predictable on devices of various sizes, Vine proportionally rescales all images to 650px width by default. Normally, this setting should work fine for all images and email applications, but, if needed, you can control this setting for all or individual images in the email template, by adding the vine-images-max-width attribute to the body or img tags, respectively.
Please note, that the email editor recommends that images should have 650px width (or the value set by the vine-images-max-width attribute).
Setting Chapter Attributes
-
Hideable – when this is selected for an element of a chapter, then this element can be hidden when editing an email based on the template.
-
Editor – this attribute defines how an element can be edited in Email Editor.
-
No Editing – no editing allowed
-
Text Editing Only – only text can be edited. Formatting cannot be changed
-
Editing without Fonts – formatting allowed but fonts cannot be changed
-
Full Editing – full editing allowed
It is recommended to mark images, links and titles with "Text Editing Only".
Mark the body of a chapter with "Editing without Fonts" so that users can add titles, images and links to there.
If you want to allow the font changing then set the body text to be "Full Editing".
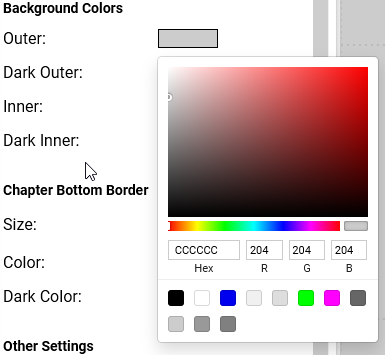
How to set some background colors
To set the color of the outer area of the whole template
- Open the Template tab in the left pane.
- Click in the Outer box of the Background colors group.
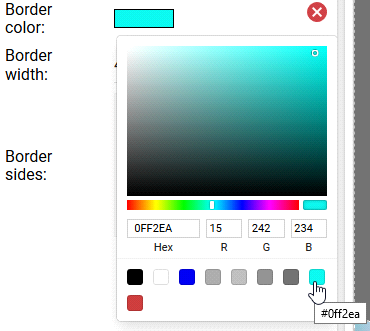
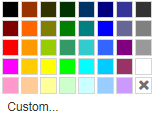
- Select a color from the color picker:
To set the color of the inner area of the whole template
-
Open the Template tab in the left pane.
-
Click in the Inner box of the Background colors group.
- Select a color from the color picker.
To set the color of all buttons and links
-
Open the Template tab in the left pane.
-
Click in the Background box of the Link Button Settings group.
-
Select a color from the color picker.
To set the color of a row

- Click inside a row, then click the Table icon and select Row->Row properties (or right-click in a row and select Row->Row properties).
- Set the needed background color on the Advanced tab.
- Click OK.
To set the color of a cell

-
Click inside a cell and then click the Table icon and select Cell->Cell properties(or right-click in a cell and select Cell->Cell properties).
-
Set the needed background color on the Advanced tab.
-
Click OK.
Configuring CSS for Chapter Elements in Template Editor
You can specifically configure CSS for individual elements of a chapter.
Click inside an element you want to set CSS for.
The type of the selected element and its current styles will be shown on the Element tab:
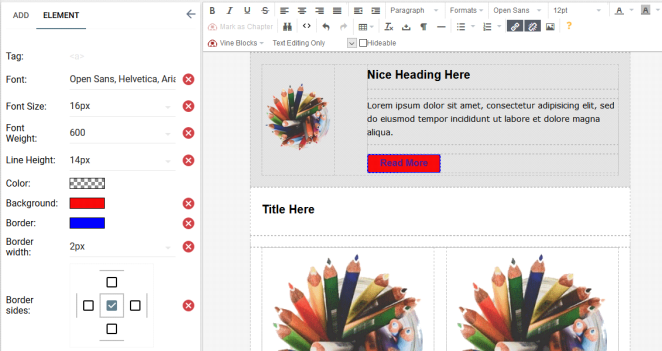
A checkered pattern is shown for elements with no color set.
Select the needed inline style settings for the current element. To remove a specific style, click  next to it.
When choosing a color for an element, you will see a choice of all colors already used on the current page. Simply click in the square with an already used color to pick it again for the new element: